DocuSign
DocuSign Integration in Atlas 14
DocuSign & Atlas

With Atlas new Docusign integration we’ve completely streamlined the final steps in making the ultimate step, getting the best talent to join your org.

Docusign Customers require to have a Business or Enterprise Docusign license. If not yet a Docusign customer, please Get Started today and Atlas success team will bring you in touch with Docusign.
please contact: support@workland.com
Email subject: DocuSign Sign-up Information
DocuSign (1st Step)

Once you are signed in with your DocuSign account, follow the steps below:
Creating templates and roles in DocuSign
In the Top left corner, click on 3 lines,
to access menu options.
Click on templates:

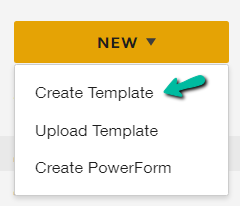
Click on “New”

Select “Create Template”
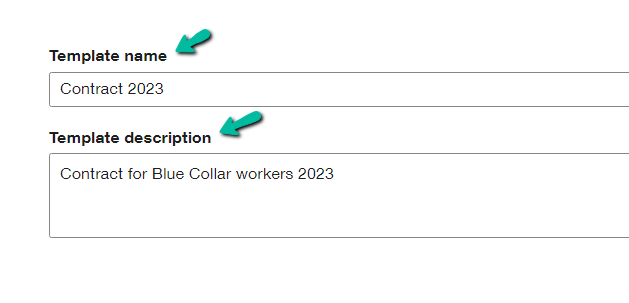
Provide a title for the template that you are creating and add a description regarding your template.
Next, Upload documents

Once you upload your document(s), you have options to:
Replace, Rename, Delete, View and more.

Adding A Recipient:

Role = Add a generic title …. Candidates, Applicants, ect. (Title is visible to Candidates)
In order to use Docusign in Atlas you must leave the name and email fields blank. These fields will be populated when sending envelopes in Atlas.
Name = ** Leave blank **
Email = ** Leave blank **
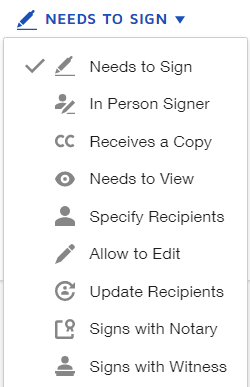
Needs to Sign = Select the action that you wish to have from the candidate to perform. It becomes checkmarked when selected.
Actions available in “Needs to Sign” List:
Set signing order (optional) = What is the order you wish to receive signatures, Candidate first, then Human Resources for example. If you do not define the order, all recipients will receive the document(s) at the same time.

You may add additional Recipients - Simply click on Add Recipient once again
Role = Add a generic title …. If your recipient is someone in your organization
you may add a generic title such as: Human Resources etc.
(Title is visible to Recipient)
Name = ** Leave blank **
Email = ** Leave blank **
Needs to Sign = Select action that you wish to have done internally, Is a Signature required? or to View only ? It becomes checkmarked when selected.
Examples:
Add Message = You may send a customized message or a default message.
If you wish to send a “customized” email, checkmark “Custom email and select the language for each recipient.”
You may change Title, select candidate language and add a message.
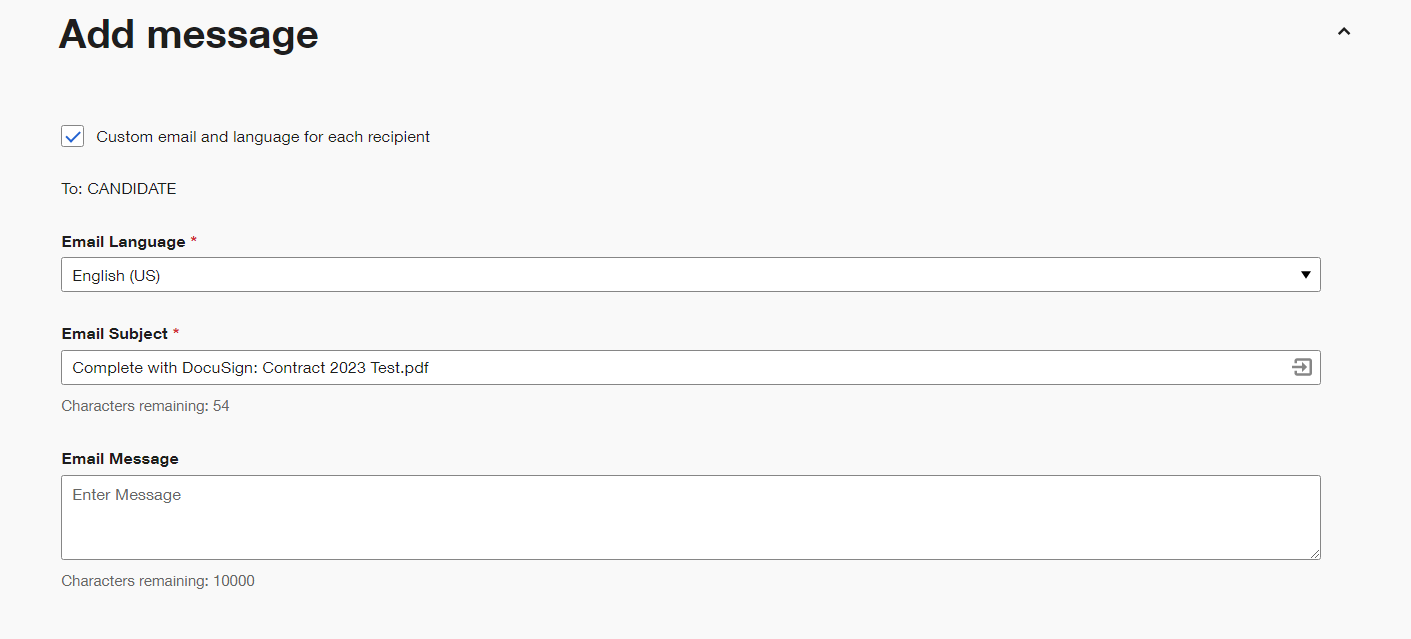
If the “Custom email and language for each recipient” is not checkmarked, all recipiens will receive the same message. You may change Title and add a message.
You may also send automatic reminders (The initial set-up cannot be modified unless performed by the account Administrator) .

Click on Next located at the bottom right of your page.
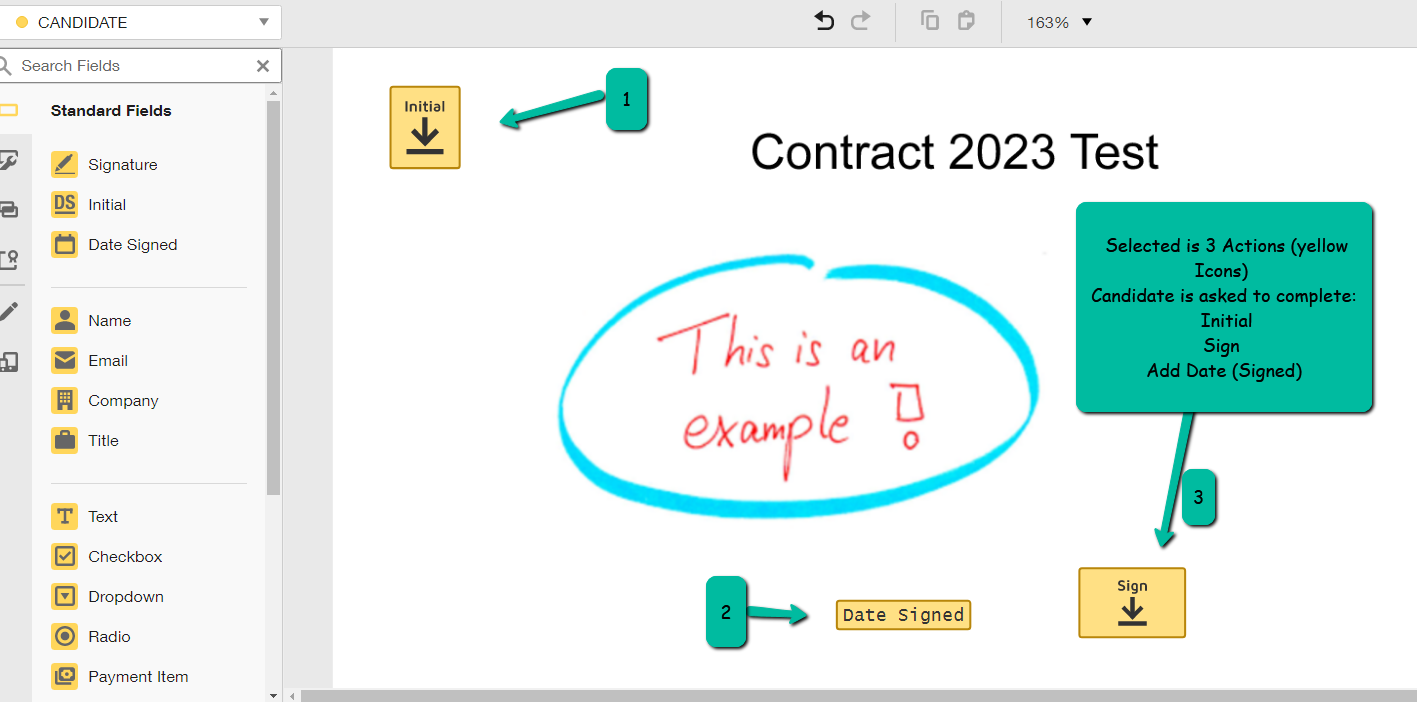
This page requires you to select the action you expect from the Recipients List,
located on the top left side of your page.

The Recipient List is listed in the dropdown and is tagged by a specific color.
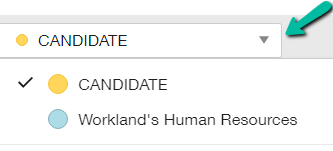
The candidate (Yellow Tag) is selected, (checkmarked).

For this template, we have “dragged” from the list on the left side, 3 actions we will require the candidate to complete. Candidate is requested to: Sign, Initial and Date document. As we are in the Candidates profile all icons are in Yellow.
Next Step- Go to the List (top left corner) and change Recipient. You will notice the next Recipient is color coded differently.
The Document will show the actions requested to the Candidate and Actions requested to the second recipient “Workland’s Human Resources”

Click on “ Save and close” located at the bottom right of your page.
You have an overview of all DocuSign templates.

DocuSign Integration in Atlas

In Modules Tab - Click on Integration Tab,

Click on Onboarding & Integration “DocuSign” will appear
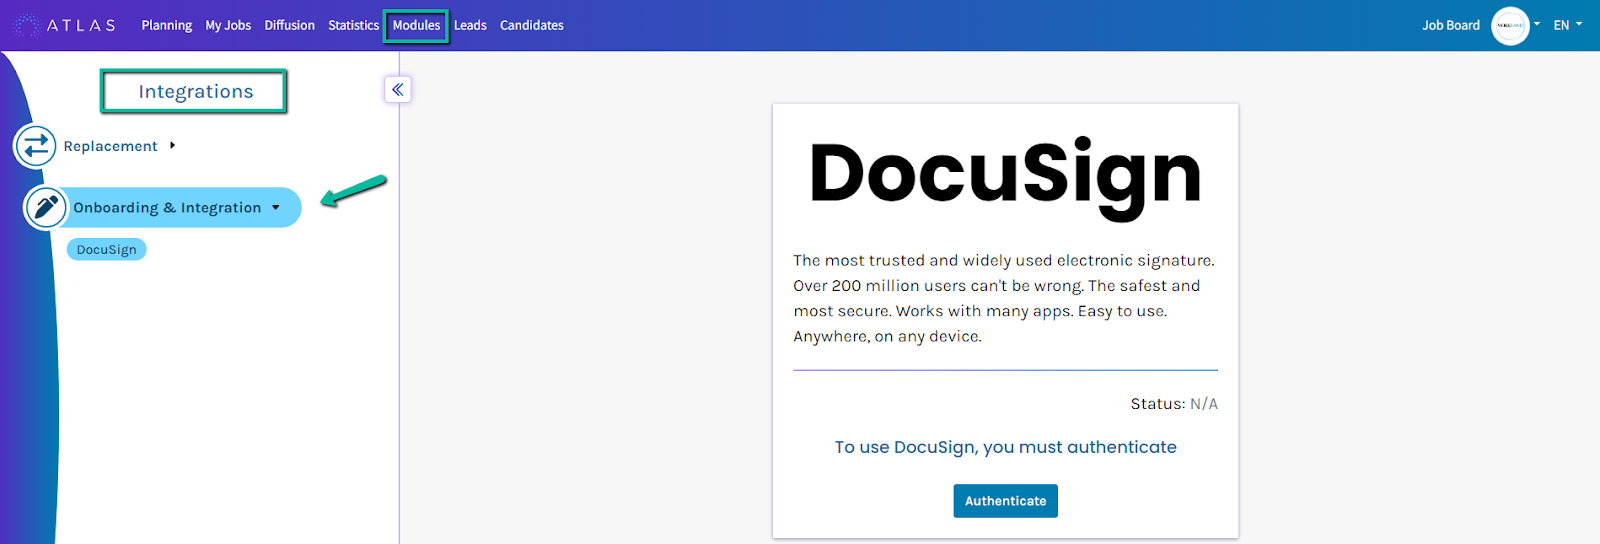
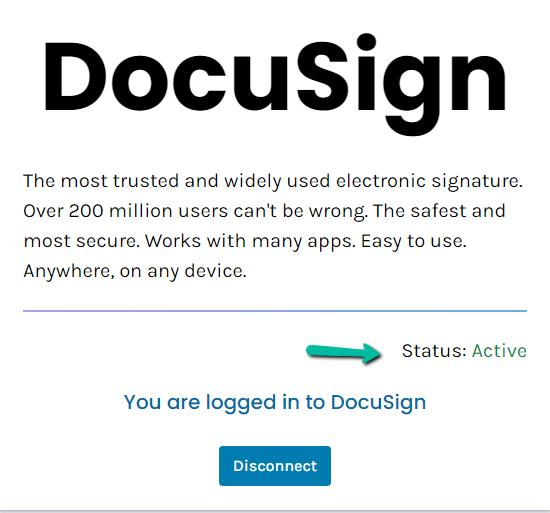
Simply connect to your DocuSign account by clicking on “Authenticate”

You will be directed to the sign-in page for DocuSign, Complete the Sign-in process by entering the Email Address & Password.

Once you are successfully signed in, you will see the Status is “Active”
There are 2 different ways that you may use DocuSign in Atlas via:
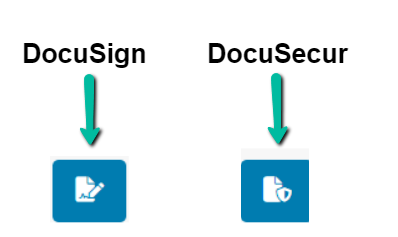
DocuSign Tab in Atlas

Once in Candidates Profiles under a job:
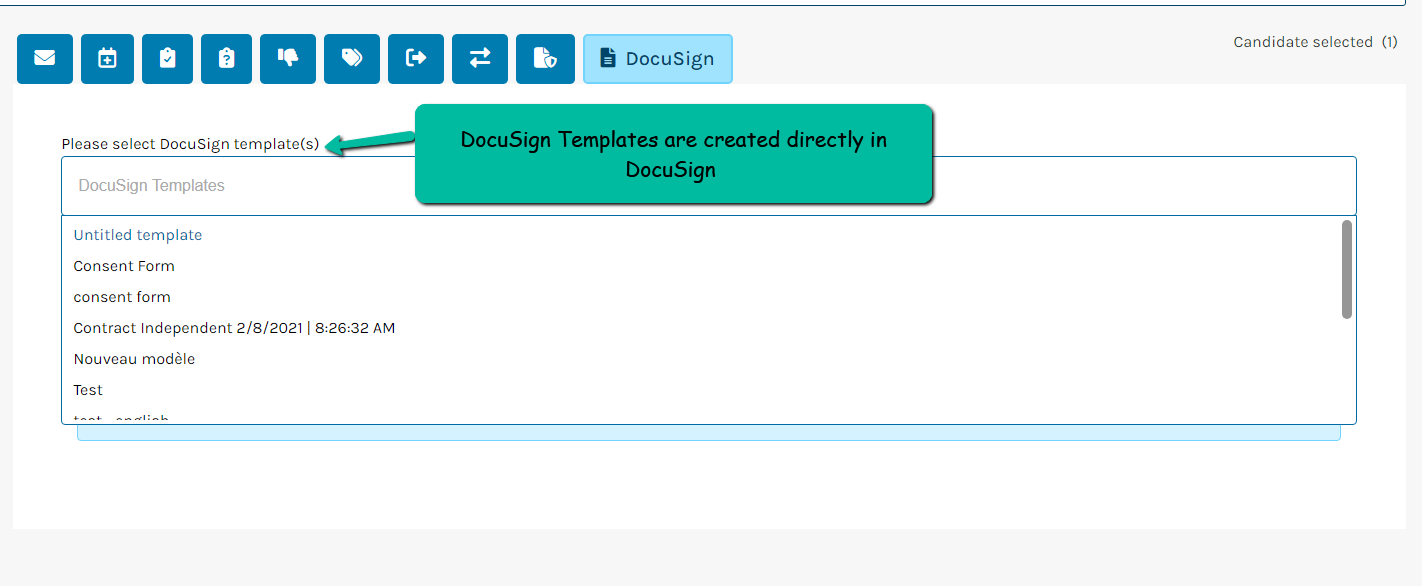
In a workflow, you may select one or many candidates to whom you wish to send Docusign templates. Click on DocuSign Icon to have access to created DocuSign templates.

Select the DocuSign template(s) you wish to send to the candidate to have them sign/complete. Templates and attachments are created beforehand in your DocuSign account.
Once you have selected the template(s) you wish to send, you will have to define the recipient types associated with the roles of each Docusign template. You must then confirm the addition of these templates.

Screen Preview with explanations:

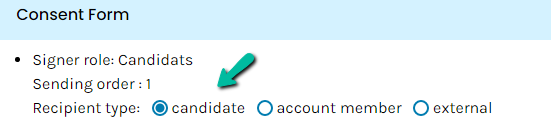
For each “Template” added, you must decide who the Signer Role is by selecting amongst the options provided:
3 Recipient Types:
Candidate: To send to Candidate(s).
Account member: Employee with Atlas account access.
External: Email and name of recipient, inside or outside your organization who has no Atlas account. When Selecting an external Signer, you must click on “confirm” to validate the information.
- The email address of the sender will be displayed to all Parties concerned.
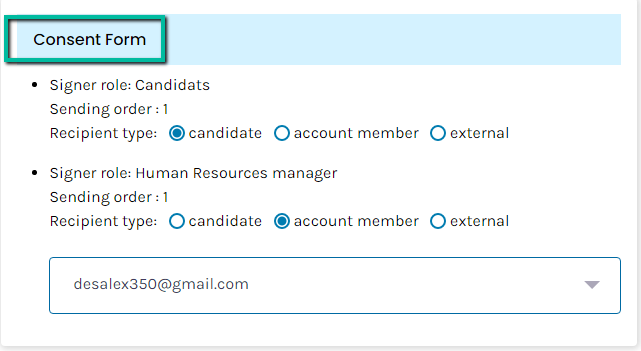
The first template is the “Consent Form". We must decide who will receive documents and who needs to sign/complete.
The first Signer Role : was named “Candidates” therefore we will select Candidate type for the first Signee. This means that each candidate selected will receive the template "Consent Form" first (sending order 1).
The second Signer Role was named Human Resources manager If the manager has an Atlas account, select “account member” if the signer does not have an Atlas account select “External”and input their information.
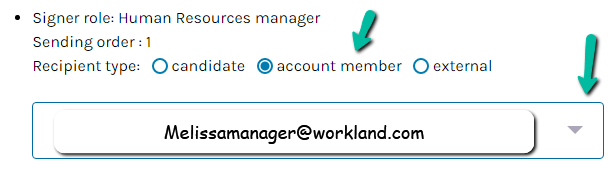
Preview for the Consent form (Template 1)
In the above example, Two templates were requested:
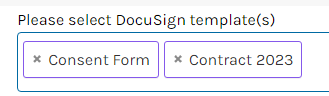
Therefore, we repeat same steps for the 2nd template “Contract 2023”

When Selecting an external Signer, you must click on “confirm”
Click on Preview

A pop up window will appear with a preview of what was requested

Click on Arrow to open view

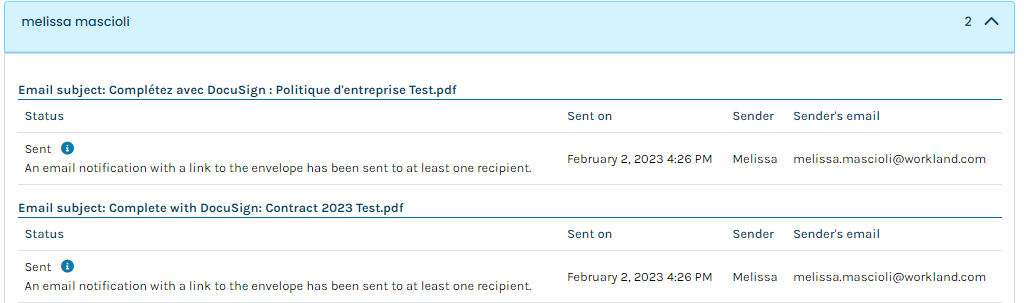
Click on Send to send Documents. Once you send an "overview" is shown for each candidates so you may review the status of the document, by clicking the info icon.
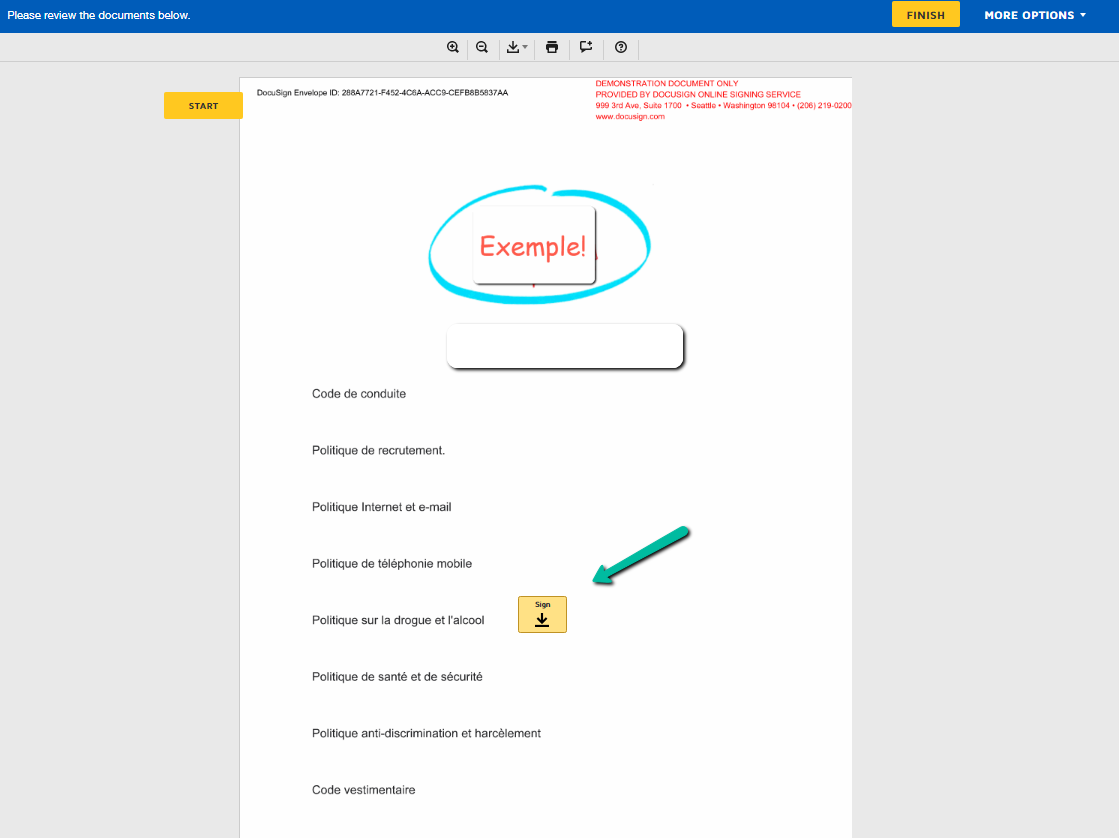
An email is sent to the Candidate asking them to sign, This is an example of the action the Candidate must complete:

Once the Candidate Signed and depending on the “view order” selected in DocuSign, a second email will be sent to the 2nd Signer for signature or verification, An email will also be sent to the “Sender” confirming the documents were viewed.
- The email address of the sender will be displayed to all Parties concerned.
The Status in Atlas, will also update from “Sent” to “Completed”

To View the DocuSign Envelopes in a candidate profile that were sent, click on the “action” icon in Atlas
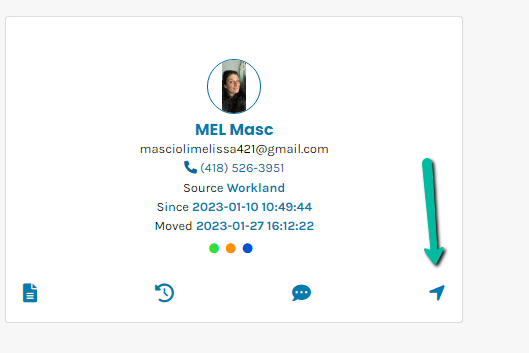
Then click on DocuSign Icon

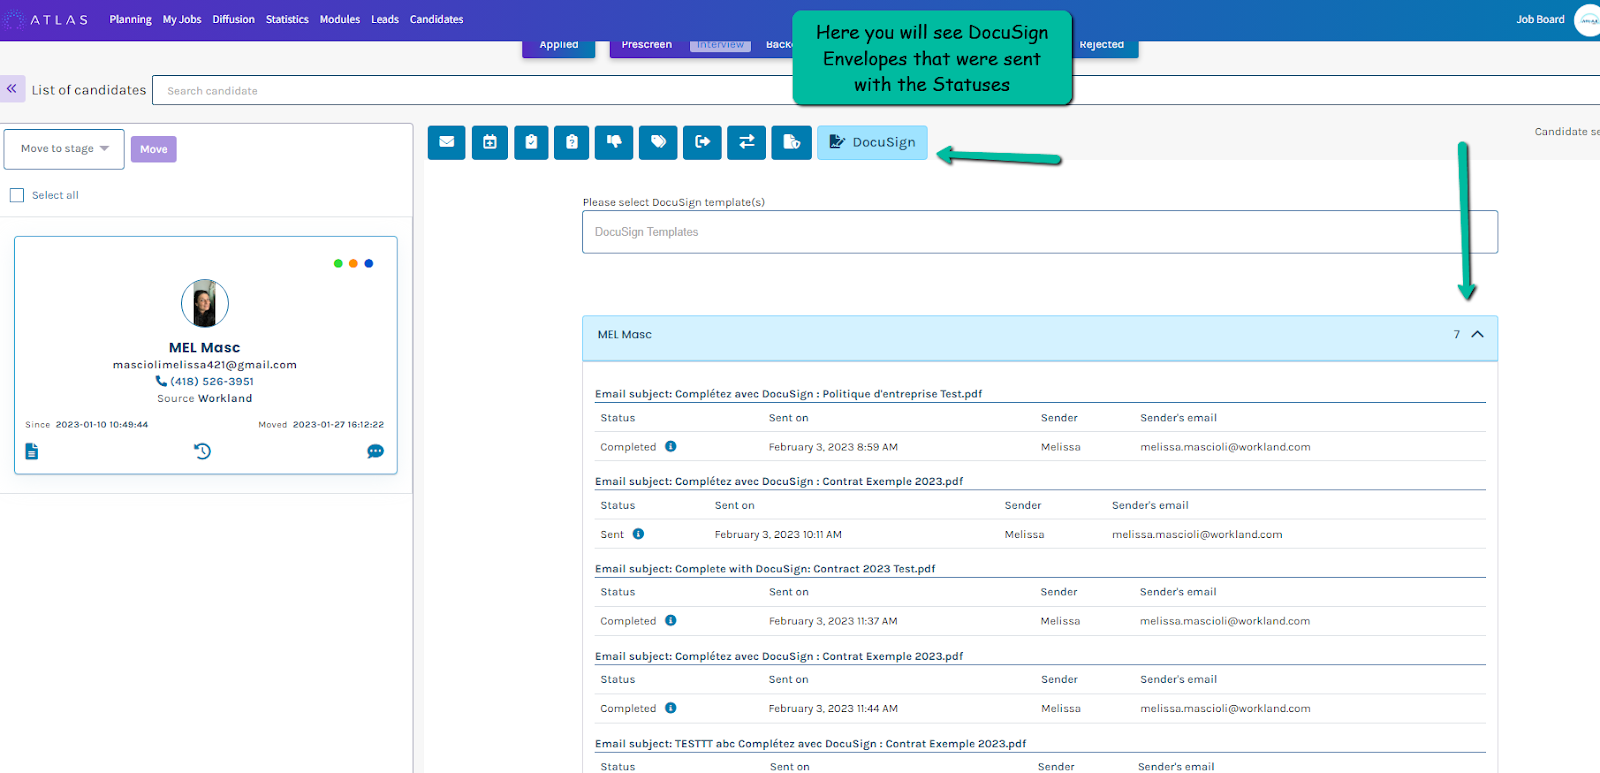
You will then have an overview of the DocuSign Envelopes sent to this Candidate with the Statuses of what was sent/completed etc.
DocuSign in DocuSecur Tab

Using DocuSign in DoceSecur Tab
Refer to the “DocuSign Tab” section for detailed information on how to use in Atlas
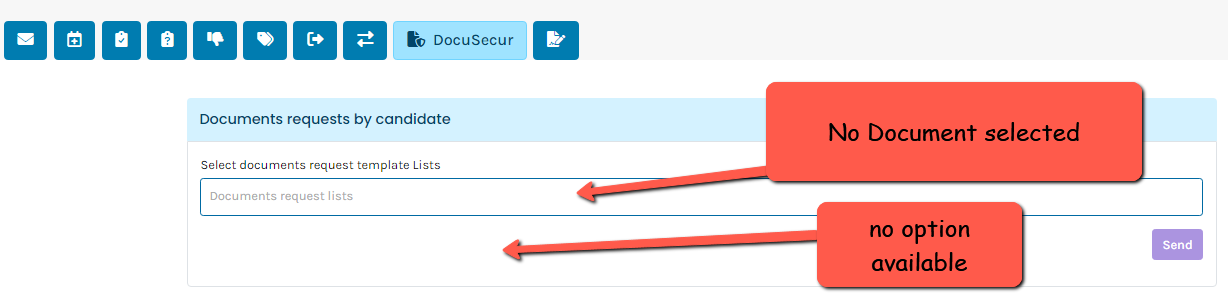
When in a candidate profile and you are using “DocuSecur” and add a document to send via DocuSecur, There will be an option to add:
This box will only appear once you have added a DocuSecur document in the field Documents request.

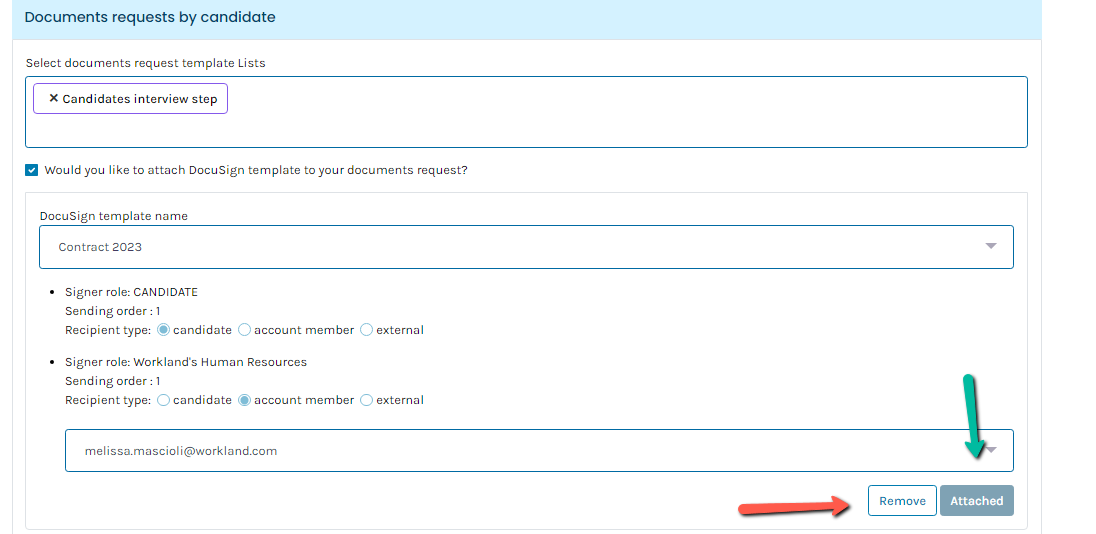
Once you have selected your DocuSecur document, and checkmarked “would you like to attach DocuSign template to your document”, the list of Docusign templates will appear.
Select the list of DocuSign templates that you wish to use (that were already created in DocuSign directly)

Once you have selected the “DocuSecur and DocuSign templates” you will be prompted to complete the Signer1 and Signer 2 Roles.
You must click on “Attach”. Once attached It indicates “Attached”.

You will see the template has been Attached, you also have they option to “remove”.
You may also add multiple DocuSign Documents by clicking on the plus sign.

If you click on the “preview icon” you will have a description of the DocuSecur Documents and DocuSign templates

Preview and once Information validated, click on SEND
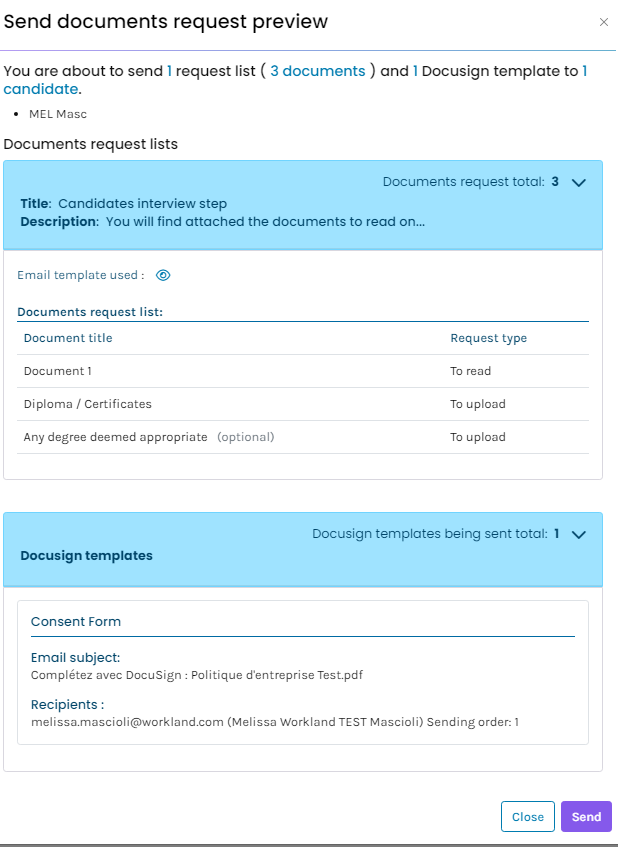
A preview of both DocuSecur Statuses and DocuSign statuses will be available

Possible Error Codes in ATLAS/DocuSign
Selected DocuSign template does not have any signers set. In order to use this template, please add signer(s) to it first in your Docusign account.
Please check recipients for the selected DocuSign template. One candidate recipient type must be selected.
In order to use this template, please make sure to add a Signer Role and/or a Sending Order to all of its signers in your Docusign account.
Envelope Status
Every envelope that you create or receive through DocuSign, has a status. The status indicates the current state of the transaction.
This list defines all of the possible statuses:
Draft. For an envelope you created and then saved without sending. Draft envelopes are stored in your account for 30 days from the date they were created. After 30 days, drafts are removed from your account and purged from the system.
Sent. The email notification has been sent to at least one recipient. The envelope remains in this state until all recipients have viewed the documents. (Shown in Reports and History only)
Delivered. All recipients have viewed the documents. (Shown in Reports and History only)
Waiting for Others. The envelope has at least one recipient who has yet to complete their action. The recipient status in the Details view shows whether the outstanding recipients need to sign (Needs to Sign) or view (Needs to View). From the Manage page, you can see whose turn it is to sign by hovering over the status.
Needs To Sign. You are a recipient and you need to sign.
Needs to View. You are a certified delivery recipient and you are required to view the document.
Correcting. The sender started to correct an in process envelope and has not yet saved his changes. In this state, any outstanding signers are unable to view or sign. The sender must either save or cancel his changes in order to move the envelope out of the Correcting status.
Voided. The sender canceled the envelope before it was completed. Recipients can no longer view or sign the document. Voided documents appear in your sending account as voided. You can still view and print the document, though it has a "VOID" watermark.
Declined. A signer has declined to sign.
Completed. An envelope is completed once all of the recipients have completed their actions.
Expired. A document that has exceeded its set expiration period without completing will expire. Recipients can no longer view or sign the expired document. Expired documents appear in your sending account as voided. You can still view and print the document, though it has a "VOID" watermark.
Delivery Failure. The email notification did not reach the recipient. Review the Details to see which recipient status is listed as Auto Responded. For this recipient, check the email address you entered and correct the document to fix any errors. From the Manage page, you can see which recipient delivery failed by hovering over the status warning.
Authentication Failed. At least one signer has failed the authentication check. You can either send a reminder to the recipients, which gives the signer another chance to access and pass the authentication. Or you can correct the envelope and modify the authentication setting. The envelope History provides additional detail on the authentication failure.
Completed or Voided - Purging Soon. This status indicates that your account is using document retention to purge completed and voided envelopes from the system after a set holding period. See Purge Documents for more information.
Completed or Voided - Purged. Your account document retention policy implemented a purge process on the envelope. The purge holding period has concluded and the envelope documents have been purged from the system. See Purge Documents for more information.


For any questions, please email us at support@workland.com
Was this article helpful?
That’s Great!
Thank you for your feedback
Sorry! We couldn't be helpful
Thank you for your feedback
Feedback sent
We appreciate your effort and will try to fix the article